 中文简体
中文简体
 English
 Español
 عربى
عربى
Content
- 1 The Three-Number Rule for Curtain Rods
- 2 What You Need Before You Start
- 3 Step 1: Measure the Window and Calculate the Rod Length
- 4 Step 2: Set the Mounting Height
- 5 Step 3: Match Rod Diameter and Projection to the Curtain Weight
- 6 Step 4: Plan Bracket Positions and Support Spacing
- 7 Handling Wide Windows, Sliding Doors, and Bay Windows
- 8 A Measurement Sequence You Can Reuse for Every Window
- 9 Measure Twice, Buy Once
The Three-Number Rule for Curtain Rods
You found the perfect pair of velvet curtain panels. The color is right, the texture is right, and the price is fair. Then you measure the window, order a standard rod, and discover that the curtains cannot open fully because the rod is too short. That scenario repeats in thousands of homes every year, and it is completely avoidable.
The core rule for how to measure for curtain rods is short enough to remember: the rod should extend 8 to 12 inches beyond the window frame on each side, sit 4 to 6 inches above the frame, and have brackets spaced no more than 30 to 36 inches apart. When those three numbers are right, the curtains stack back off the glass, the window looks taller, and the hardware carries the fabric without sagging.
What You Need Before You Start
You need four tools: a steel tape measure, a pencil, a stepladder, and a spirit level. The steel tape measure is not an optional preference. A cloth tape can stretch over long spans, and an error of half an inch at an 80-inch measurement is enough to make a rod look off-center once it is installed.
Three terms appear in every curtain hardware guide, so it helps to define them in one place:
- Rod length is the span between the outer edges of the two mounting brackets.
- Finished width is the total length of the rod including the finials on both ends.
- Stackback is the width of the gathered fabric when the curtains are fully open.
Once these three terms are clear, you can compare rods from different suppliers without guessing what the numbers mean.
Step 1: Measure the Window and Calculate the Rod Length
Measure the window from the outside edge of the left trim to the outside edge of the right trim. Do not measure the glass or the gap between the jambs. The rod has to clear the full trim, and the brackets need solid wall space on both sides of the frame.
The Overhang Rule
Add the overhang after you have the frame width. The minimum is 8 inches per side, and 10 to 12 inches per side is the standard for a polished look. The overhang is not decorative. When the curtains are open, the fabric stacks back onto the rod, and it needs room beyond the frame to clear the glass. If the rod ends at the edge of the frame, the stacked fabric blocks a large part of the window.
Use this formula: rod length = window frame width + two times the overhang per side.
Standard Sizes and What to Round Up To
A 60-inch window with a 10-inch overhang on each side needs an 80-inch rod. If your number lands between the common stock sizes, round up. A slightly longer rod looks intentional; a slightly shorter one looks like a mistake. The table below gives the recommended rod length for typical windows.
| Window Frame Width | Overhang per Side | Rod Length (Bracket to Bracket) | Typical Stock Size |
|---|---|---|---|
| 24 in (61 cm) | 10 in (25 cm) | 44 in (112 cm) | 28 to 48 in |
| 36 in (91 cm) | 10 in (25 cm) | 56 in (142 cm) | 48 to 84 in |
| 48 in (122 cm) | 10 in (25 cm) | 68 in (173 cm) | 48 to 84 in |
| 60 in (152 cm) | 10 in (25 cm) | 80 in (203 cm) | 48 to 84 in |
| 72 in (183 cm) | 10 in (25 cm) | 92 in (234 cm) | 84 to 120 in |
| 96 in (244 cm) | 12 in (30 cm) | 120 in (305 cm) | 120 to 170 in |
The rod length also sets the fabric width you need to order. For a full gathered look, the combined panel width should be about one and a half to two times the rod length. With a dense textile such as plain velvet curtain fabric, the panel width matters even more because the pile reflects light differently depending on how it gathers. This is why the rod measurement should be final before you order fabric.
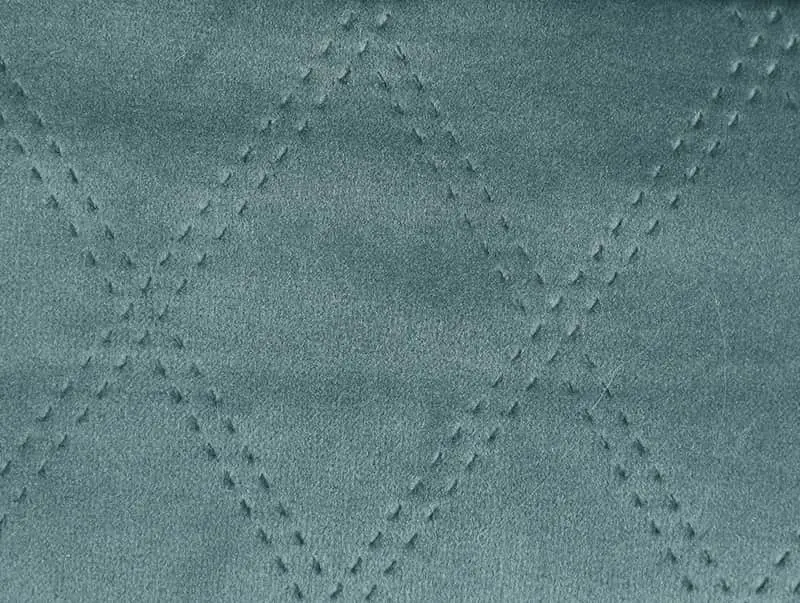
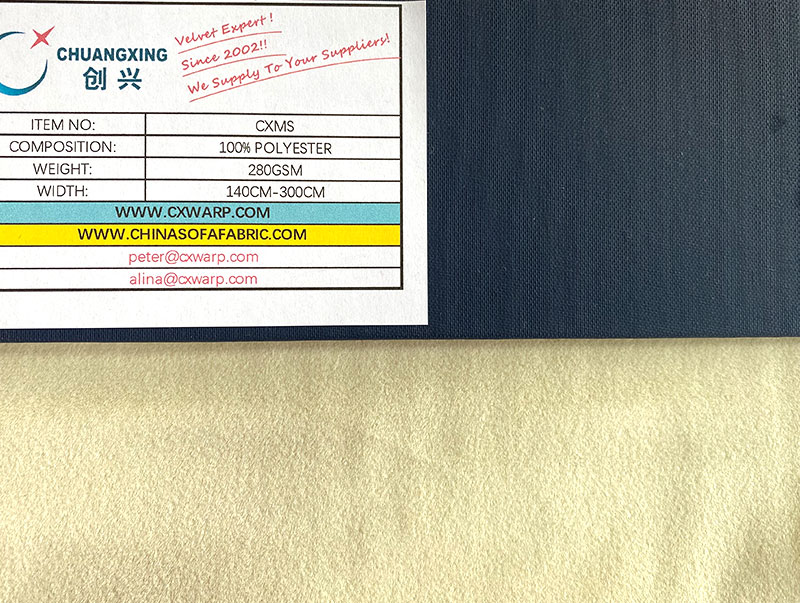 Custom Hot sale cuatain/sofa fabric high quality upholstery fabric CXMS280 SupplHaining Chuangxing Warp Knitting Co., Ltd are China Custom Hot sale cuatain/sofa fabric high quality upholstery fabric CXMS280 Suppliers ...View Product →
Step 2: Set the Mounting Height
Mount the rod 4 to 6 inches above the top of the window frame, and at least 2 inches below the ceiling if the window sits under a low ceiling. For an 8-foot ceiling, the common designer trick is to mount the rod halfway between the top of the frame and the ceiling. That single decision makes the ceiling seem higher and the window proportionally taller.
Ceiling Height and Rod Placement
For 9- and 10-foot ceilings, move the rod 6 to 10 inches above the frame to keep the proportions balanced. The exact number matters less than the relationship: the higher the mounting point, the taller the window appears. Just keep the rod at least 2 inches below the ceiling so the finials and brackets have visual breathing room.
Floor Clearance and Finished Length
Once the bracket height is marked, measure the curtain length from the bottom of the rings, or from the top of the rod for tab-top or back-tab panels, down to the floor. Decide on the clearance before you order fabric. A quarter to half an inch above the floor gives a crisp tailored line. A one to two inch break creates a softer, more relaxed silhouette, and it suits materials like Italian velvet curtain fabric that drape heavily. For standard 8-foot ceilings, the top of the rod usually ends up 82 to 86 inches from the floor.
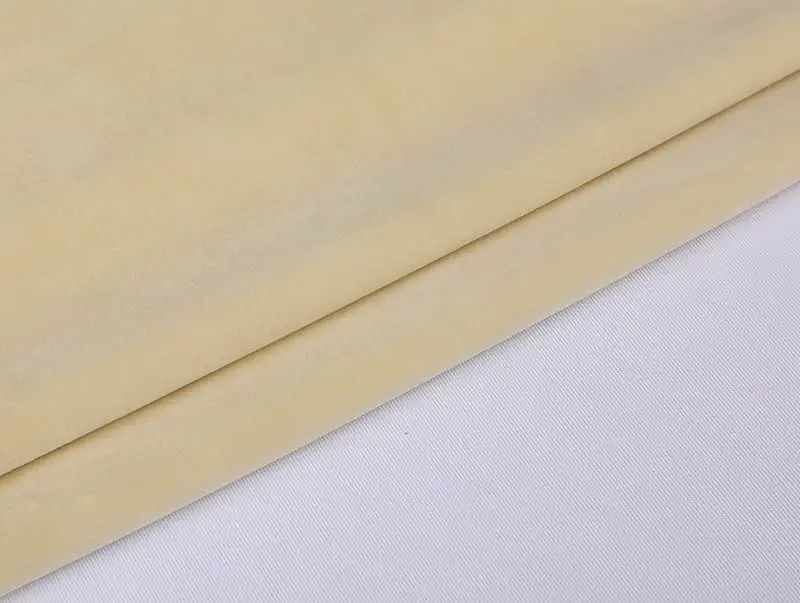
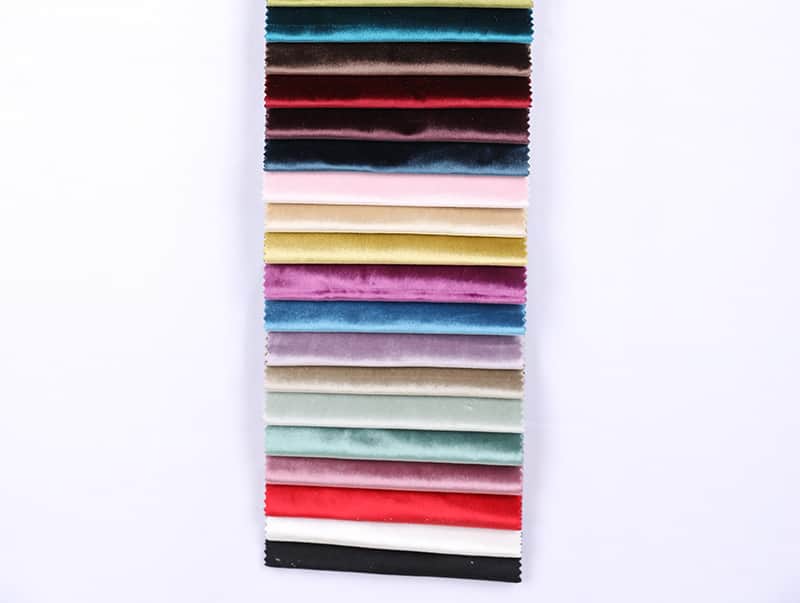 Custom Hot sale curtain upholstery polyester italian velvet shinning velvet CXIVHaining Chuangxing Warp Knitting Co., Ltd are China Custom Hot sale curtain upholstery polyester italian velvet shinning velvet CXIV Supp...View Product →
Step 3: Match Rod Diameter and Projection to the Curtain Weight
Rod diameter is not just a style choice. It determines whether the rod can carry the curtain without bowing in the middle. The reliable way to choose is to compare the finished weight of the curtain to the rod's load rating, but a practical shortcut works for most homes.
Rod Diameter by Fabric Weight
- Sheer and lightweight polyester curtains under about 3 lb per panel: a 5/8-inch or 3/4-inch rod is sufficient.
- Cotton, linen, and medium-weight polyester curtains: a 1-inch rod handles the load comfortably.
- Velvet, blackout, and thermal curtains: use a 1-1/4-inch to 1-1/2-inch rod, or a traverse rod rated for the panel weight. Velvet is dense, and a thin decorative rod will droop within months.
Heavy textiles change the hardware calculation completely. A bronzing velvet curtain fabric with a metallic finish, for example, carries more weight per square meter than a standard plain weave, so the rod, brackets, and anchors all need to be selected for that extra load.
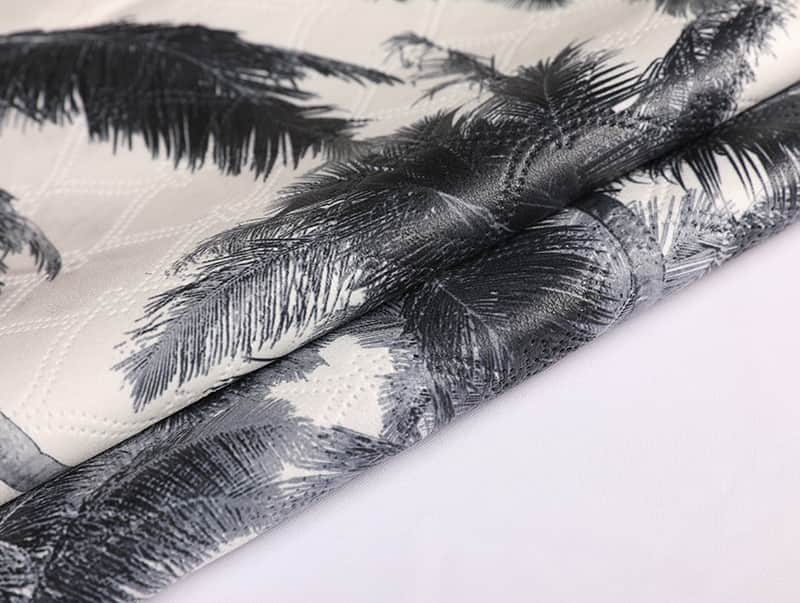
 Custom Foil taped curtain upholstery polyester velvet CX029-032 Suppliers, CompaHaining Chuangxing Warp Knitting Co., Ltd are China Custom Foil taped curtain upholstery polyester velvet CX029-032 Suppliers and Company...View Product →
Projection and Double Layers
Projection is the distance from the wall to the center of the rod. For a single layer of curtains, choose a bracket that projects at least 3 inches so the finial does not press against the wall when the curtain is drawn. For double layers, use a two-rod system with 4 to 6 inches of projection. That gives the back sheer its own clearance and lets the front curtain move without rubbing against the rear layer.
Step 4: Plan Bracket Positions and Support Spacing
Brackets belong outside the window frame, not on it. Mark the left bracket at the left overhang point, mark the right bracket at the right overhang point, and confirm that the span between the two marks matches your calculated rod length. Then hold a spirit level across the marks. A 1/8-inch difference over an 80-inch span is visible once a straight curtain hangs from the rod.
The spacing between brackets matters as much as the rod diameter. Install a bracket every 30 to 36 inches for standard curtains. A 60-inch rod needs two brackets. An 80-inch rod needs two brackets plus a center support. A 120-inch rod needs at least three brackets. For velvet or blackout curtains, reduce the spacing to 24 to 30 inches because the additional weight increases the risk of deflection.
Fix every bracket into framing where possible. If the bracket position does not line up with a stud, use a toggle bolt or similar hollow-wall anchor rated for the weight of the curtain. Lightweight anchors are the most common reason a rod pulls out of the wall a few weeks after installation.
| Curtain Type | Rod Diameter | Bracket Spacing | Projection |
|---|---|---|---|
| Sheer, lightweight polyester | 5/8 to 3/4 in | 36 in | 3 in |
| Cotton, linen, medium polyester | 1 in | 30 to 36 in | 3 to 4 in |
| Velvet, blackout, thermal | 1-1/4 to 1-1/2 in | 24 to 30 in | 4 to 6 in |
Handling Wide Windows, Sliding Doors, and Bay Windows
A sliding glass door is usually 72 to 90 inches wide. A single rod of 80 to 100 inches with a center support works well, or you can use two separate rods that meet in the middle if you want each panel to open independently. Keep the overhang at 6 to 8 inches per side so the stacked fabric has somewhere to sit.
Bay windows need either three separate rods or one flexible track. Measure each section of the bay individually, add a small overhang to each section, and order the hardware for each angle separately. A curtain track with corner fittings is often more practical than trying to bend a single rod around the angle.
For any span longer than 72 inches, install a center support bracket from day one. The support prevents the rod from sagging under the fabric weight and under the daily pull of opening and closing the panels. With long velvet curtains, the sag appears slowly, so adding the support later always looks like an afterthought.
A Measurement Sequence You Can Reuse for Every Window
Once the pattern is clear, you can measure every window in the house in a single afternoon. Use the same sequence each time so nothing gets missed:
- Measure the outside trim width of the window.
- Add the overhang per side and calculate the rod length.
- Decide the mounting height, 4 to 6 inches above the frame or halfway to the ceiling.
- Measure the finished curtain length from the rod or rings down to the floor.
- Confirm the rod diameter and bracket spacing match the fabric weight.
- Add a center support bracket for any span over 72 inches.
- Hold a level across both brackets before tightening anything.
The final point separates a professional installation from an amateur one. If the brackets are level but the rod still looks slanted, the ceiling or floor is out of level; trust the spirit level and adjust the bracket side rather than guessing by eye.
Measure Twice, Buy Once
Measuring for curtain rods does not require special skill, but it does require patience. The numbers that matter are the window width, the overhang, the mounting height, and the rod diameter. Finial size, finish, and color are matters of taste.
Start with the hardware, confirm the fabric weight, and then order the panels or fabric. If you are still comparing textiles, a supplier that publishes clear product details makes the process easier, because the fabric choice and the rod measurement are connected. The manufacturer's fabric showcase is a useful reference when you want to see how curtain velvets are grouped by finish and application before you finalize a hardware order.